Are you looking to add a header at the top of your survey, perhaps with your logo and brand along with your survey title? Not all of our pre-built themes and color palettes highlight the header, but customizing your survey to do so is easy!
Add a Header
- If you have selected either a Pre-Built Theme or Quick Color Scheme palette that does not highlight the header as much as you would like, click the Header thumbnail on the left to access the header color palette.
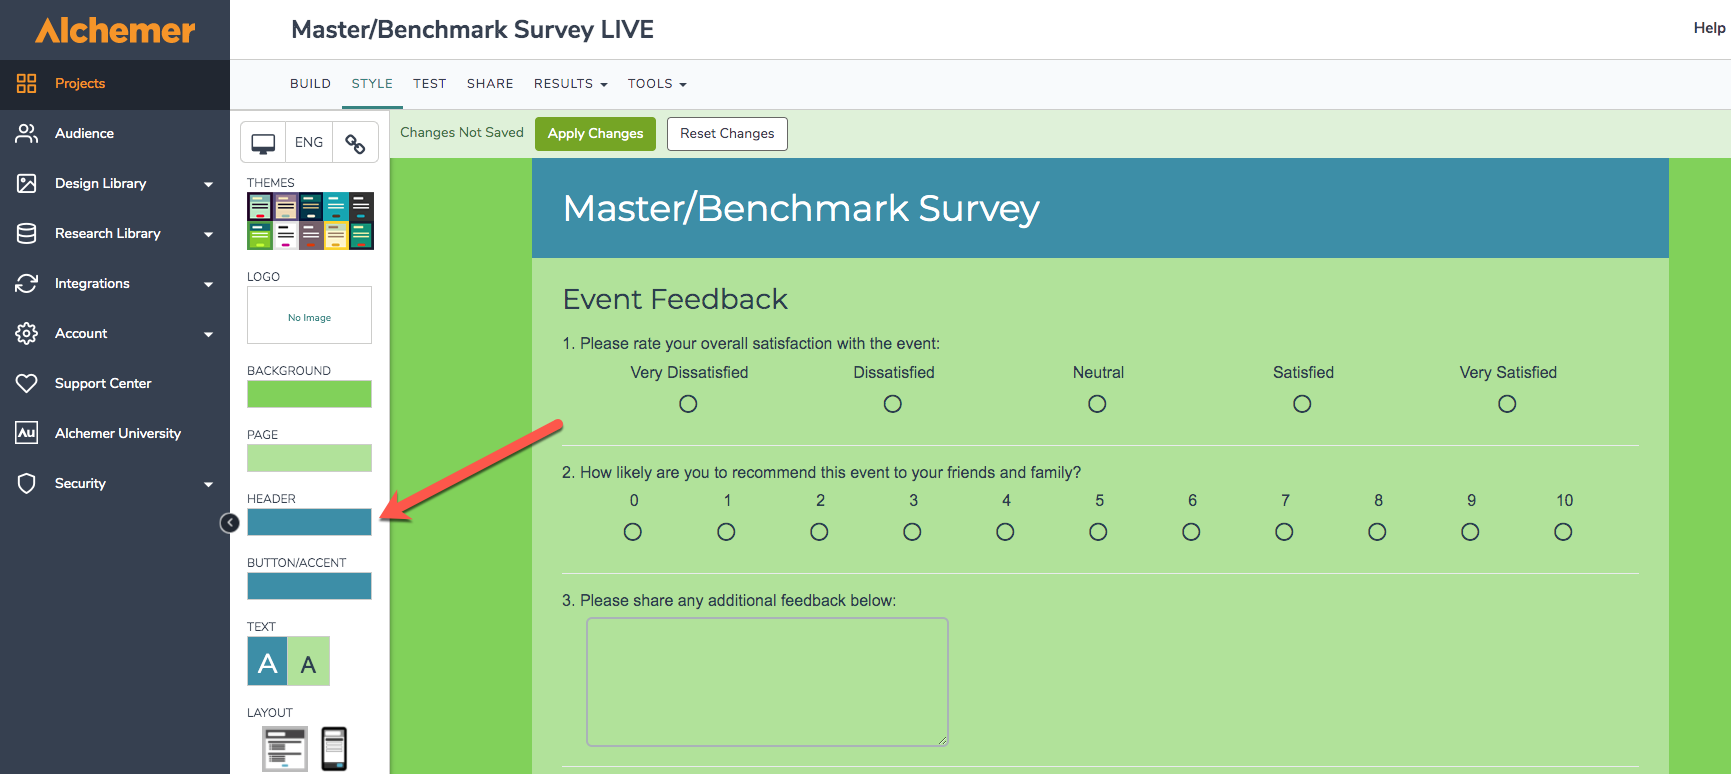
- Select a different color for your header. Be sure to click Apply Changes once you have selected the perfect color.
Adjust Header Width
Some header containers will match the width of the page, others will match the width of the survey.

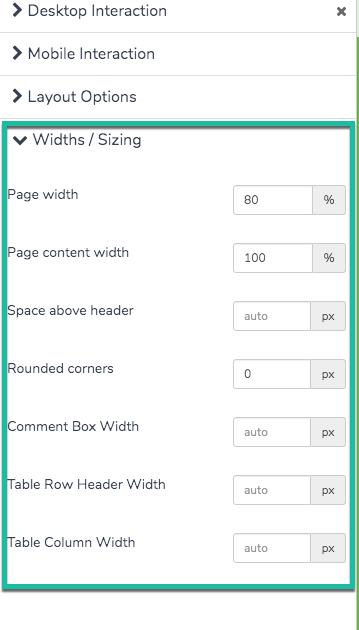
- To customize this go to Layout > Widths / Sizing.
- Here, you can adjust the Page width. Consider the Page content width as well to get the header look and feel you desire.
- You can also take advantage of the Space above the header if you wish to separate it from the overall page.
Add a Header Logo Image
Are you looking to add your logo or another image to the top of your survey?
- Click the Logo thumbnail to get started.
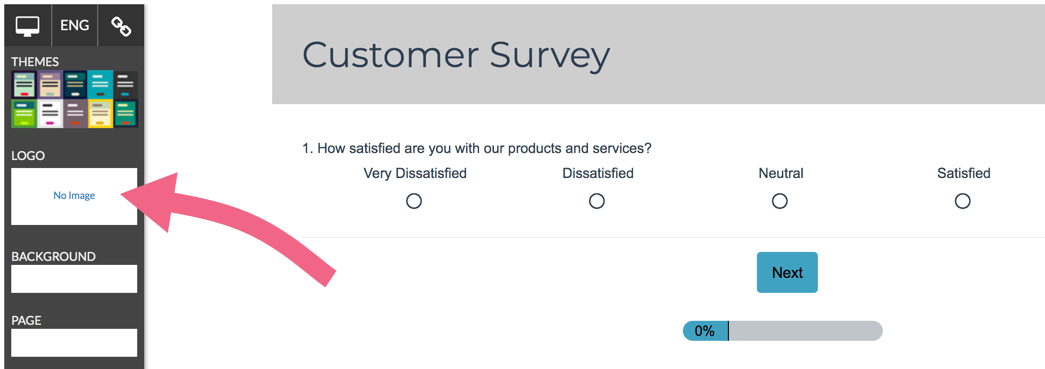
- Click the Add Image Link to select an image. You have a few options for this:
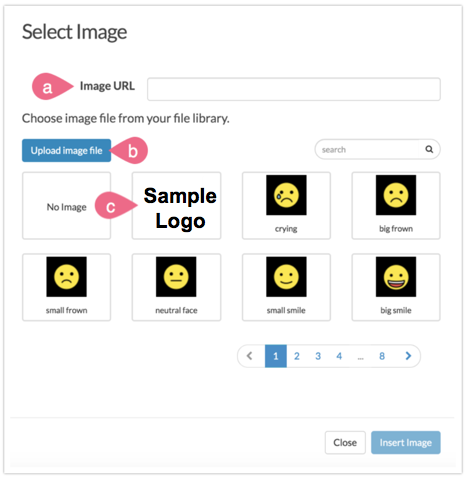
- If your image is hosted online, you can paste the image url into the Image URL field instead of uploading the image to your library
- Click Upload image file to upload a new image from your computer
- Choose images previously uploaded to your Alchemer File Library
- Once you have added your image, use the position and size controls as needed.
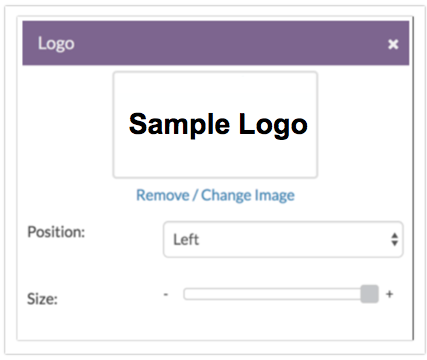
Header Image Sizes
For best results, we recommend header images of up to 750px wide and 200px tall.
If you would like your header image to display like a banner that stretches across the entire page, we recommend image files 1000px wide and 200px tall. To accommodate this image size, change your Page Width (available under Style > Layout > Widths/Sizing) to 100%.
Remove a Header Image
- To remove a header image, click the Logo thumbnail in the left panel.
- Next, click the link to Remove / Change Image.
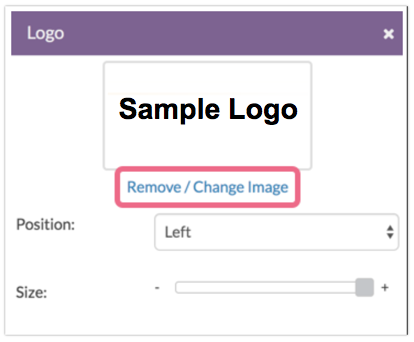
- Finally, click the No Image option in the upper-left corner!
- Be sure to click Apply Changes when you are finished.
Adjust Header Image and Survey Title Alignment
To adjust the header image position, follow these steps:
- Click the Logo thumbnail and select left, right or center in the Position dropdown menu.
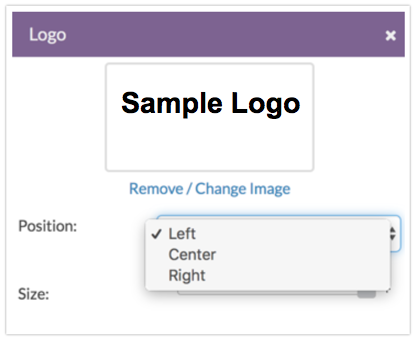
- Be sure to click Apply Changes when you are finished.
To adjust the position of the survey title, click Text > Text Options and select left, right, or center in the dropdown menu to the right of the Show Survey Title option.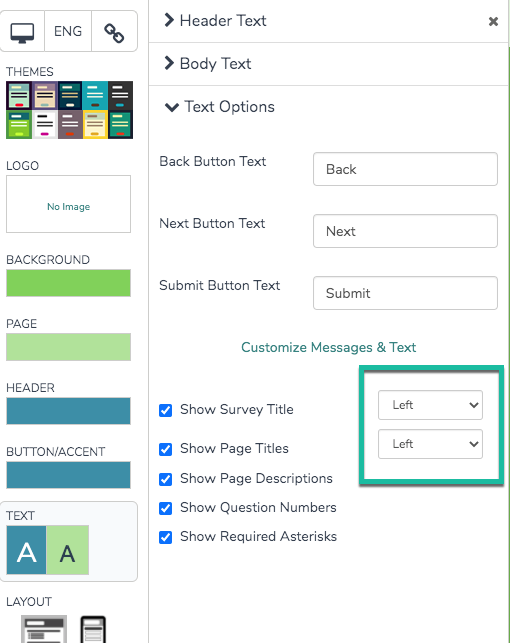
You may notice that the header image and survey title will be stacked one on top of the other. This might not be exactly what you were looking for. If you prefer to have both your image and survey title on the same line, you will need to use a little CSS code.
To do so scroll to the bottom of the survey preview and click HTML/CSS Editor link paste one of the below codes in the field on the Custom CSS tab.
Left align header image:
.sg-header-image{
float:left;
padding-left: 10px;
}
Right align header image:
.sg-header-image{
float:right;
padding-right: 10px;
}
Want Two Header Images?
Do you have two images? No worries, we've got you covered!
- First, get the links for both images. If the files are located in our File Library, go to Design Library > Files,
- When you click on an image, you will see the File URL of the image. Copy this and paste it someplace where you can come back to it later. Repeat this step for the second header image.
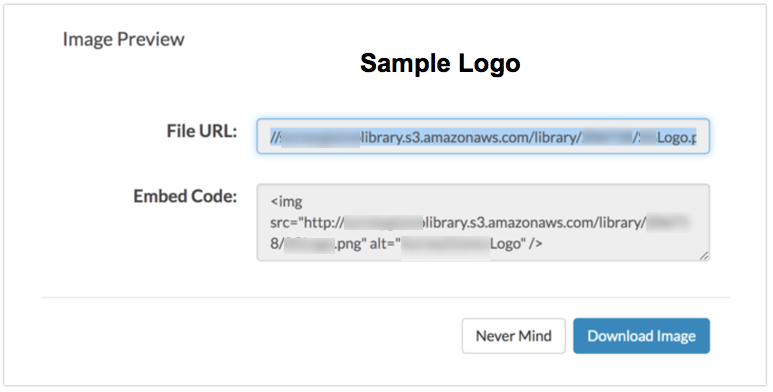
- Now go back to the survey you want to edit and then click Style and scroll to the bottom of the survey preview and click HTML/CSS Editor link.
- You will be editing both the HTML and CSS of your survey theme. Let's start with the HTML.
- Go to the Custom HTML tab. You need to replace the
sg-header-imagecode with these two pieces of code, where you replace the two links inside these examples with the links to your images that you copied earlier.<img class="sg-header-image1" src="http://surveygizmolibrary.s3.amazonaws.com/library/193520/tumblr_m1us8cTeCo1r80otbo1_500.jpg" alt="[template("header image text")]" width=50%/> <img class="sg-header-image2" src="http://surveygizmolibrary.s3.amazonaws.com/library/193520/tumblr_lex7n7CGpL1qzrblzo1_500.jpg" alt="[template("header image text")]" width=50%/>

You can adjust the size of the header images by putting in different values for the width=50% parameter. Don't go over 100% as it will cause your images to become pixelated.
Now, go to the Custom CSS tab and paste the following code. You can see that image 1 will float to the left and image 2 will float to the right. You can adjust these as needed.
.sg-header-image2 {
  float:right;}

.sg-header-image1 {
  float:left;}

.sg-header {
  overflow:hidden;}

h1.sg-title {
    clear: both;
}
Once you're done, click Save Changes and see how it looks!


